Blog

Think before you speak. Read before you think.

Developers manual for advanced WordPress development

No Comments 9367 Views1

Pick a virtual server option

  • Windows users can choose from http://www.wampserver.com/en/ or https://www.apachefriends.org/index.html
  • Mac users could pick https://www.mamp.info/en/
  • Universal solution would be go with a combination of https://www.vagrantup.com/ and https://puphpet.com/

Using Vagrant has a learning curve in the beginning when you have to configure everything and make sure you understand what is going on. So with a little bit of persistence you gain huge advantage. Having a virtual server for development is really great. You don’t need to mess with your computer settings and you can start over when things go south.

Install Git

Go to https://git-scm.com/ and install Git. It’s key to any development work.

  • You have to be able to work with your colleagues
  • When you are a single developer it’s equally important to back in history and see what has changed in your codebase

Install Node and NPM

You will need NodeJS and NPM. You can get them here: https://nodejs.org/en/. NPM comes with Node so no need to install it separately. It would be useful to understand what NPM does and where to get help – https://docs.npmjs.com/getting-started/installing-node

Install Bower and Gulp

Go and read it here: http://bower.io/ and here http://gulpjs.com/. Those should be installed via NPM using command line.

Sage is the final piece

Go to Roots page and get Sage: https://roots.io/sage/. It’s important to read on what is Sage and what it does. Then download the archive to your computer and keep it there for a while.


Getting everything to work together

  • Go get and download WordPress https://wordpress.org/download/
  • Set it up in your server and go trough installation process
  • You should have default installation of WordPress running on your local server before you continue. You should be able to login as a admin, manage everything and so on.
  • We want to install our new theme (Sage) to WordPress. We go and extract the contents of Sage archive into WordPress themes folder /wp-content/themes/.
  • When that is done we should be able to see our new Sage theme in admin theme settings. Let’s go ahead and activate it. After doing so we could check how does the page look and see that it has no styles and only default WordPress content.

We want to add Git to our theme so we could track our changes. So in the directory /wp-content/themes/sage/ trough the command line we do:

git init

We want to install all javascript libraries with Bower:

bower install

We want to install all the packages needed for Gulp to work:

npm install

Let’s launch Gulp:

gulp
At this point if we would check the browser again we should see styles and structure. The page should still be quite empty but we have a great starting point for Advanced WordPress Development.

Responsive images solution

Solution to responsive images problem

No Comments 8336 Views2

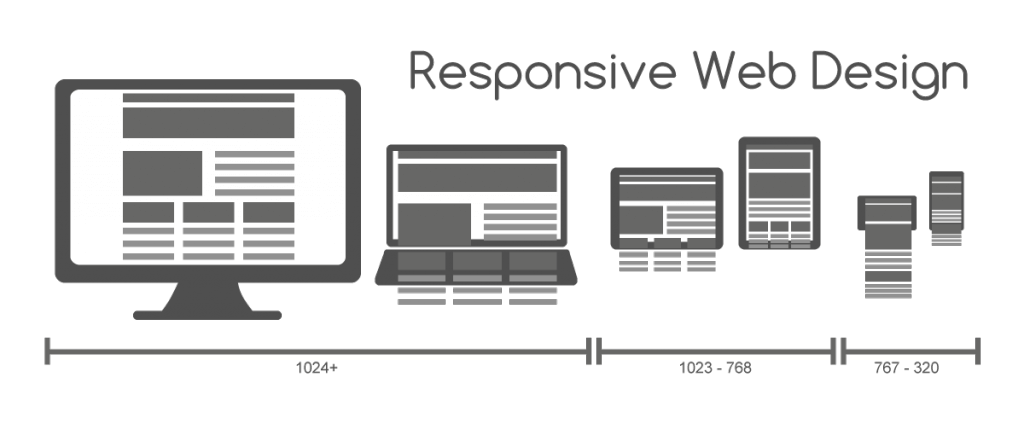
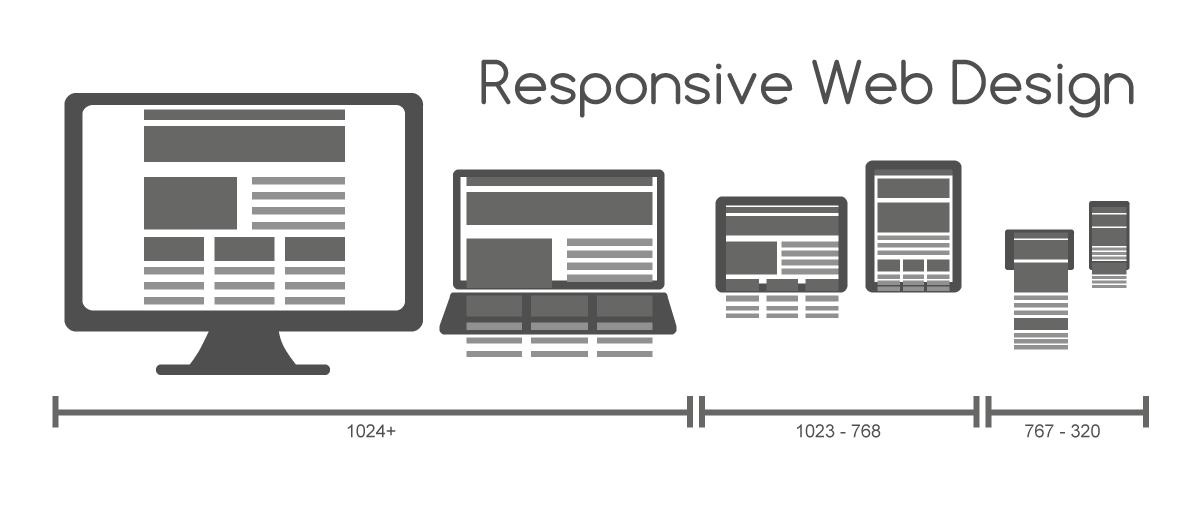
There is fair amount of challenges that arise when dealing with responsive images. All of the websites we build have to be responsive. And our lives as developers are not getting any easier as the number of different devices and potential screen resolutions increase. The high-resolution arms race seems to be never-ending as vendors try to top one another with innovations in laptop and mobile device screens. New devices such as TVs and smartwatches are entering the market, making the race even more complex.

Responsive images solution

Some clients only require the images to be responsive. Some focus on the looks too much and some do not care at all. It’s our job to inform the client about possible solutions to the problem. So this is the article we dedicate to our beloved web designers who could find this tool invaluable. We are certain that by being on the same page we’ll be able to work more efficiently and produce better results.

Issues with responsive images:

  • One size for all
  • Too many different image versions
  • Now there is a great tool which we recommend for our clients and we use it ourselves. Responsive image breakpoint generator. The tool allows you to process your images, which is useful if you have a reasonable amount of statically uploaded images. To generate breakpoints for images uploaded by users, you need to programmatically generate them from your code. For each uploaded image, you probably need to call an API to generate the breakpoints, store or cache them on your side and then build your HTML5 or CSS snippets according to these breakpoints. You can specify settings such as the width range, file size step, maximum number of images and request one or more image transformations to apply on the original image. Such transformations include aspect ratio-based cropping, face detection-based cropping and applying various image effects, filters and optimisations.

    Agile Vs. Waterfall: Pros And Cons

    No Comments 9552 Views0

    Agile software development is a group of software development methods in which solutions evolve through collaboration between self-organizing, cross-functional teams. It promotes adaptive planning, evolutionary development, early delivery, continuous improvement, and encourages rapid and flexible response to change.

    The waterfall model is a sequential design process, used in software development processes, in which progress is seen as flowing steadily downwards (like a waterfall) through the phases of conception, initiation, analysis, design, construction, testing, production/implementation and maintenance.

    Agile software development

    PROS

    Agile might be described as freeform software design.

    Software developers work on small modules at a time.

    Agile offers an incredibly flexible design model, promoting adaptive planning and evolutionary development.

    Customer feedback occurs simultaneously with development, as does software testing.

    This has a number of advantages, especially in project environments where development needs to be able to respond to changes in requirements rapidly and effectively.

    CONS

    With a less successful project manager, the project can become a series of code sprints. If this happens, the project is likely to come in late and over budget.

    As the initial project doesn’t have a definitive plan, the final product can be grossly different than what was initially intended.

    Waterfall software development

    PROS

    The emphasis of Waterfall is the project plan and therefore before beginning any kind of development there needs to be a clear plan and a clear vision in order.

    You can also estimate timetables and budgets more accurately, which definitely tends to please clients.

    Because the Waterfall method requires upfront, extensive planning, you can launch software fairly quickly.

    CONS

    Waterfall methodology relies heavily on initial requirements. However, if these requirements are faulty in any manner, the project is doomed.

    If a requirement error is found, or a change needs to be made, the project has to start from the beginning with all new code.

    The whole product is only tested at the end. If bugs are written early, but discovered late, their existence may have affected how other code was written.

    Additionally, the temptation to delay thorough testing is often very high, as these delays allow short-term wins of staying on-schedule.

    The plan doesn’t take into account a client’s evolving needs. If the client realizes that they need more than they initially thought, and demand change, the project will come in late and impact budget.

    How we do code review and why it’s important

    No Comments 6948 Views0

    What is code review?

    Code review is systematic examination (often known as peer review) of computer source code. It is intended to find and fix mistakes overlooked in the initial development phase, improving both the overall quality of software and the developers’ skills.

    Why is it important?

    • We all are human beings. You may do some mistakes irrespective of your experience in a particular technology or module. If you just review your code by a second eye, those mistakes might caught at that time only. This way you can reduce the number of bugs reported by the testers or end users.
    • If you are working in a geographically distributed team, your coding conventions may differ and if you have some strict coding guidelines, this code review process will make it possible to recheck the standards in the code that you have written.
    • There are some possibilities of repetitive code block which can be caught during a code review process. Refactoring can be done based on that.
    • Unused code blocks, performance metrics etc. are some additional check points of doing a review.
    • If you are new to development, this code review process will help you to find out your mistakes and help you to improve them. This is a perfect knowledge sharing mechanism.
    • Find out the defects and correct them at the beginning before it commits to the source control system.

    How we do code reviews?

    • Don’t micro-manage: Don’t force your team to review every changeset, nor to follow a rigid process during the code review. Remember: agile code review is mostly about knowledge sharing! All other things are good side-effects.
    • Encourage asynchronous reviews: Code review meetings take your developers away from their work, breaks their flow and will be met with resistance. A better approach is to enable them to review code when it’s convenient, the same way they read email, RSS feeds, etc.
    • Actively share interesting findings, constructs, design decisions via code review – be the champion: Build an easily accessible knowledge base from your code reviews.
    • Treat code review as yet another state in your project workflow: Don’t wait for code review until the end of the iteration. Late code review is often worse than no code review at all – it’s often tool late to react to the findings. Instead, treat code review as one more step between ‘To Do’ and ‘Done’, so that it happens constantly throughout your iteration.

    Usability checklist

    No Comments 12268 Views0

    Usability is a quality attribute that assesses how easy user interfaces are to use. The word “usability” also refers to methods for improving ease-of-use during the design process.

    Usability is defined by 5 quality components:

    • Learnability: How easy is it for users to accomplish basic tasks the first time they encounter the design?
    • Efficiency: Once users have learned the design, how quickly can they perform tasks?
    • Memorability: When users return to the design after a period of not using it, how easily can they reestablish proficiency?
    • Errors: How many errors do users make, how severe are these errors, and how easily can they recover from the errors?
    • Satisfaction: How pleasant is it to use the design?

    Go and make a usability checklist.

    WMFUI-Affinity_horiz